It seems common for hobbyists to develop in ASM for the PIC but I chose C. To get some hand-holding, I went through Tutorial 4 at pic18f.com and it was exactly what I needed from an introduction. Here are a few bits that I had to bump into myself.
PICkit2 Kinda Tricky with VirtualBox
I use a MacBook as my primary machine and do most things related to rocketry within a WinXP VM using VirtualBox. I figured I would simply plug in the PICkit2 (it is USB), assign it to my VM, and go on with the Tutorial. When I plugged in the PICkit2, it appeared in the USB list in my VM but it was Unavailable. I checked the VirtualBox forums and there were some special chicken dances that people claim work but the following steps appear to be reliable for me.
- Set up USB Filter for PICkit2 and put at top of VM config.
- Boot VM
- Plug in PICkit2 at Windows log-in screen.
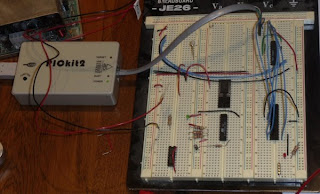
Here are some pictures:


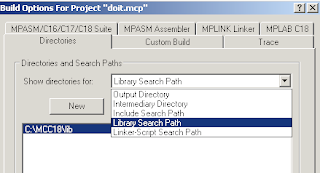
MPLAB Library Path needs setting
It is mentioned in the tutorial that the Library Search Path will probably need to be set but I assumed that since I went with all defaults on my install that it would be already set. It wasn't - I got a build error telling me that c018i.o was not found. I just went in to Build Options..., clicked on Directories tab, changed the drop-down to Library Search Path, and set the value to C:\MCC18\lib.

Run App using PICkit2 / USB Power
Just like the Tutorial said, you can say "Programmer -> Release from Reset" to run the app that is in Flash on the PIC. You can do "Programmer -> Set Vdd Off" to turn the PIC off. Neato - easy peasy.

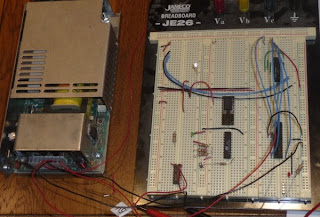
Run App using External Power
Once the PIC is programmed, you can remove the PICkit2 and plug in a 5V power supply. Positive goes to pin 20 on the 18F2455 that I'm using and Ground goes to pins 8 and 19. As soon as power is turned on, the app in Flash runs.

No comments:
Post a Comment